Taking pictures of your work with a SmartPhone
Consider the Background
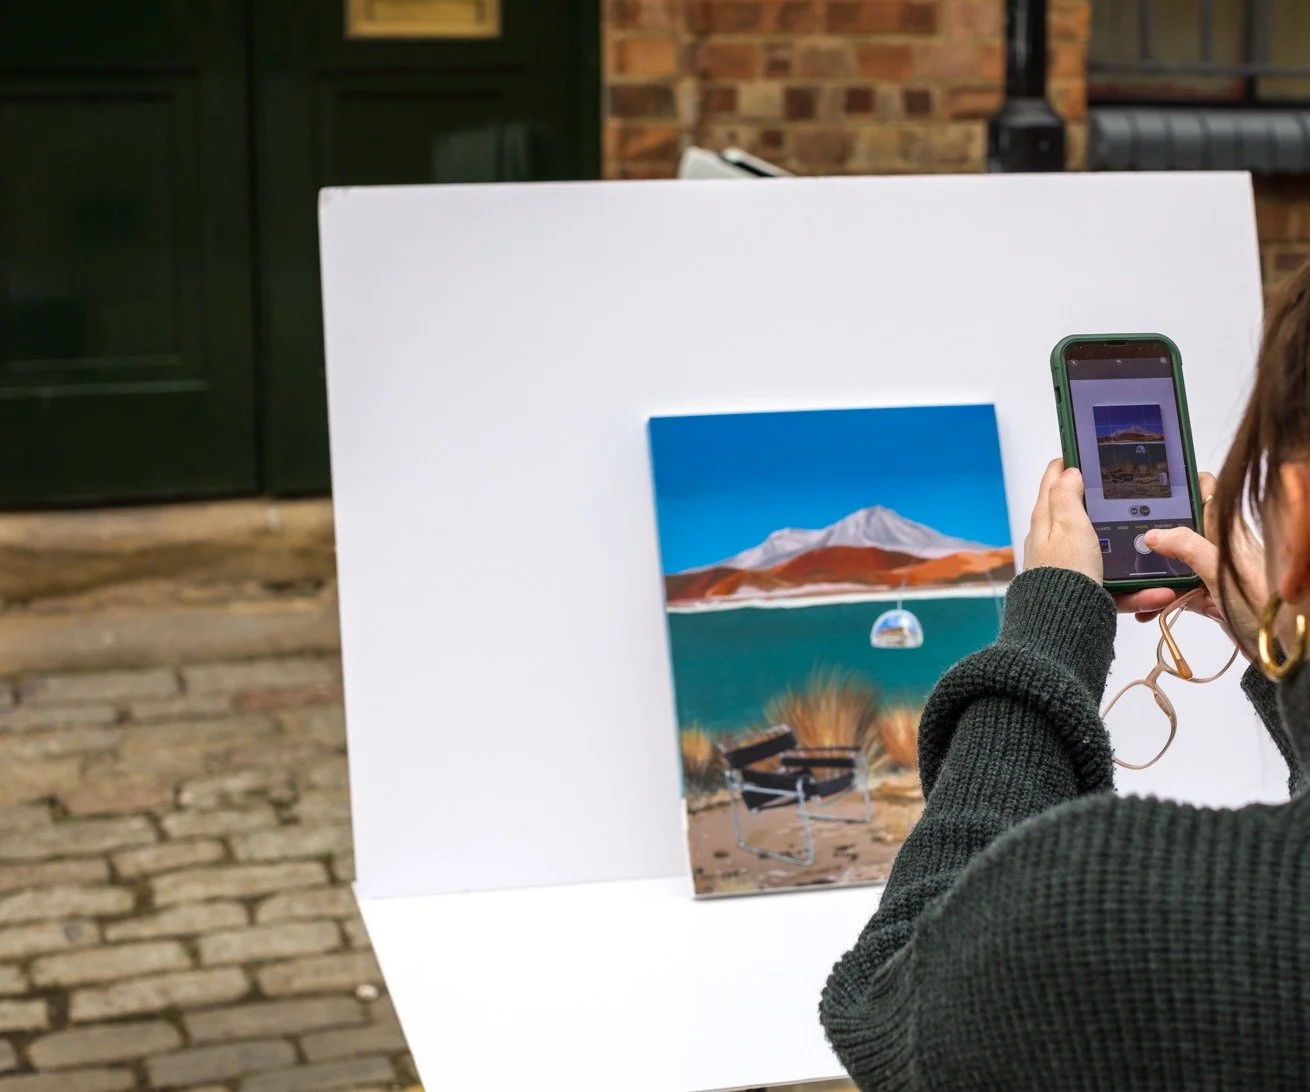
You should avoid putting your work in front of anything that is particularly busy or bright. This will attract the viewer’s eye, pulling them away from the work. Instead, it is best to go for a neutral setting that showcases the artwork.
To make a subject stand out, you can blur the photo’s background. This is possible when using Portrait Mode for this to work properly, the subject should either be very far from the background or between two to eight feet from the camera with plenty of light.
You can absolutely set up a make-shift photo studio in your own space!
For bigger works consider finding a plain back-ground, preferably white.
Spend time getting the set up working and take pictures of multiple works in one go.
Angle of Your Photographs
It’s important to be directly square to the artwork. If you have a tripod, use it to get directly above or in front of the work.
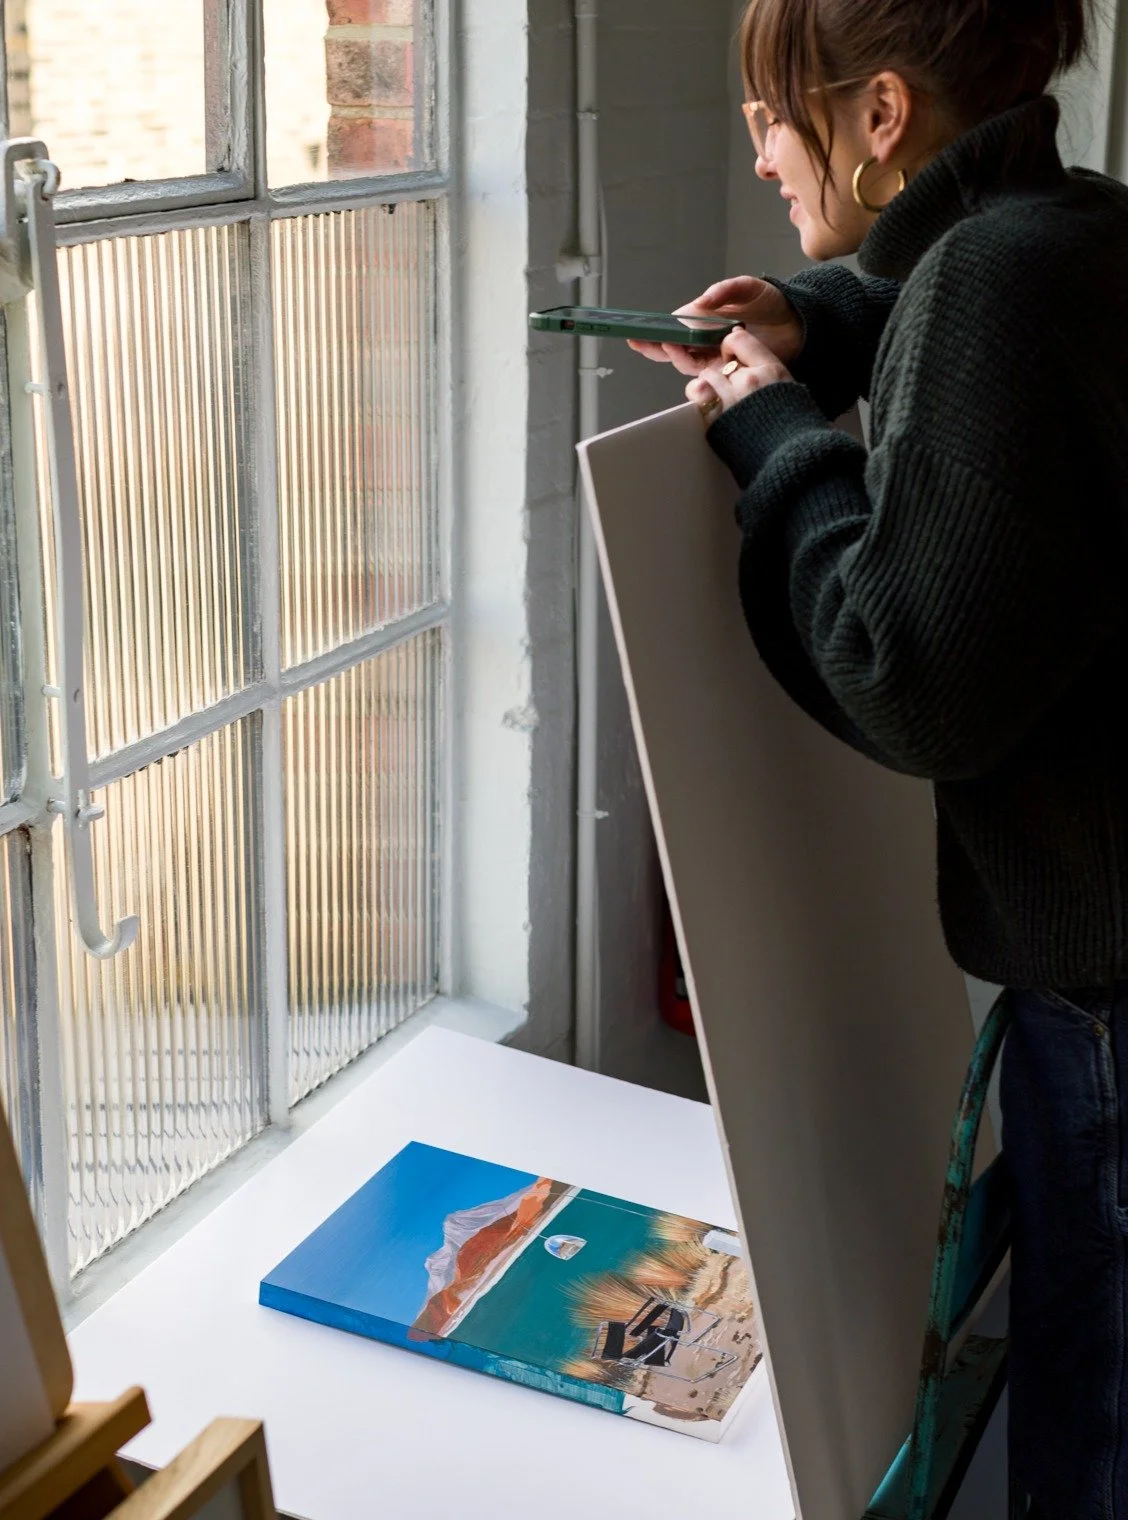
If you don’t have a tripod, it can be hard to keep a phone straight and still when photographing from above, so one tip is to find a chair, and gently rest your artwork on it at an angle. Make sure it is secure and won’t slip off the chair onto the floor. From here, you can position yourself square-on while standing or crouching.
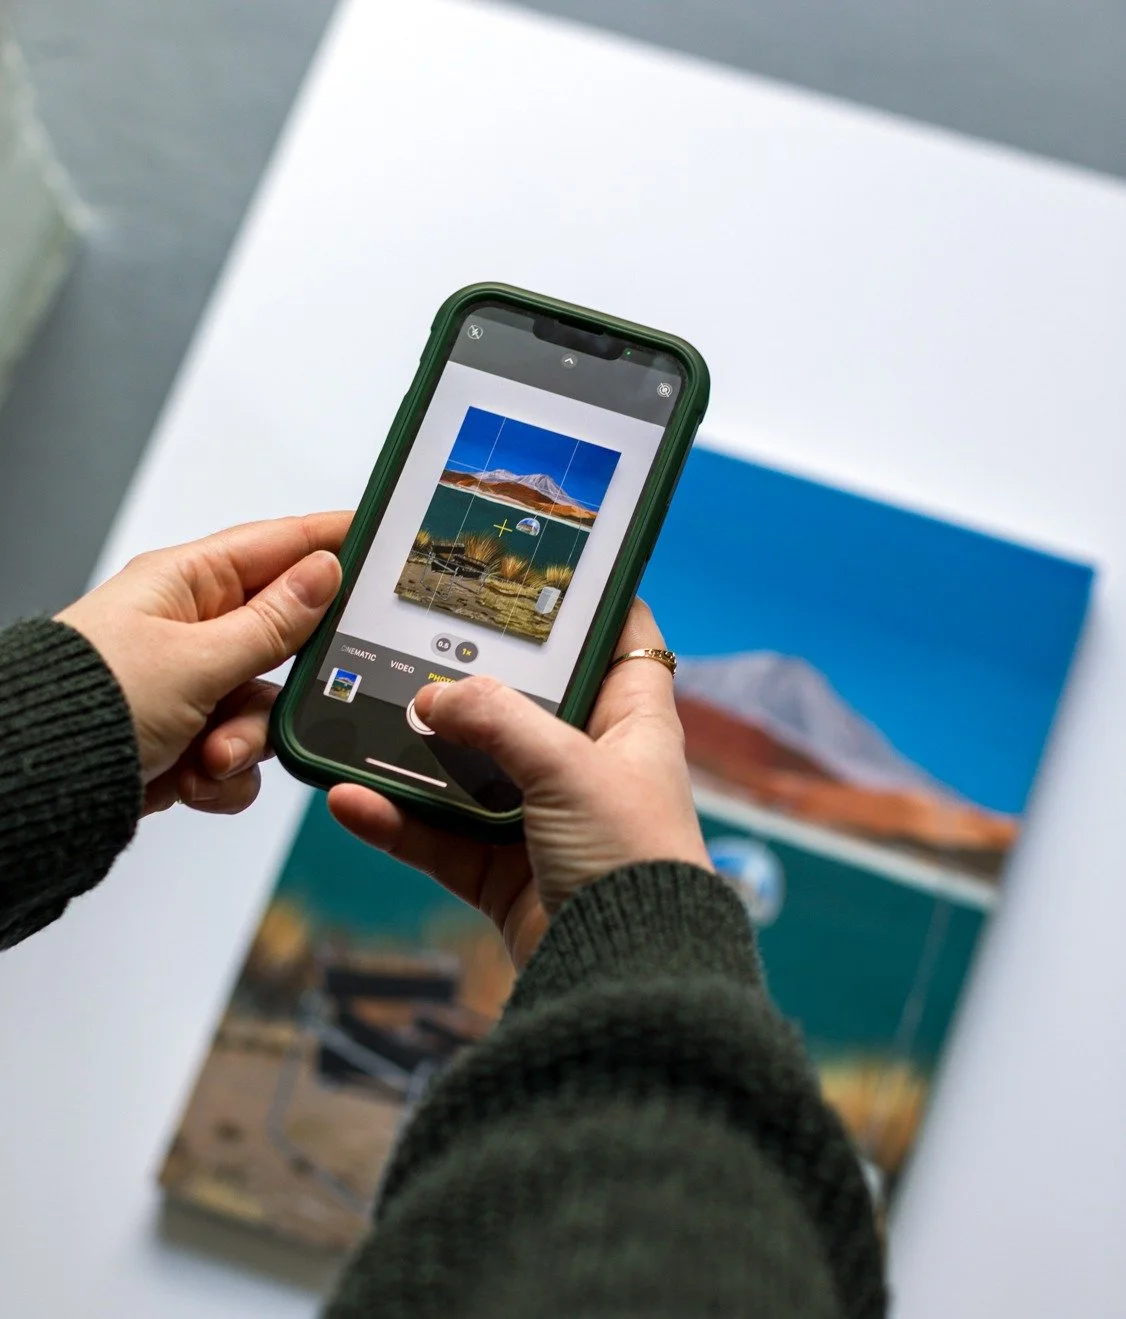
You can turn on the ‘grid’ feature to guide you:
Settings > Camera > Grid should be toggled on
Unlike heavier cameras that allow you to counterbalance their weight, a SmartPhone is very light. For that reason, it is important to be mindful of holding your phone steady. A tripod is well worth having and you can pick them up cheaply, ideal for pictures and particularly useful when shooting videos.
Use the grid setting in your smartphone to get the angle right and the work square and level in the grid lines
You can do this without a tripod… but easier with one (ask around and see if you can borrow one)
Find the Good Light
When possible take photographs outside, or if you can’t then use light from a window when there is good cloud coverage in the sky. This natural light is the best light you can have when photographing your artwork. If possible, find that good light and bring your artwork there to photograph.
Make sure your outdoor set up doesn’t cast shadows on your art
You’ll soon see when taking pictures if the set up works and you can tweak and adjust.
If There’s No Good Light, Create It!
If you cannot find quality natural light, use a light source instead. An angled lamp is inexpensive and can provide a great environment for you to photograph your work. Place your light about two feet above the artwork, and at a 45-degree angle. You may even choose to use two lights so that you have broader, more even coverage.
Using a sheet of diffusion material in front of your work lamp will soften the harshness of the light. Hold a white surface, such as a piece of foam core, opposite your light source. This will reflect the light into the shadows and balance out the light. Or a sheet of thick paper held on with a clip or clothespeg.
Natural light is best, outdoor light is ideal but don’t be put off if you have to be indoors.
Use a set up like this or if you don’t have frosted windows hang a white bedsheet up.
Focus on the Phone
When the SmartPhones camera is facing the subject, touch the portion of the screen where the subject appears. This will tell the phone where it should focus. By holding a finger on the screen, the item will come into focus and the yellow square, indicating the area of focus, will blink.
Use the grid line to get the art in the viewer, tap on the yellow + or box for android and ensure you are fully focused on a central point.
Adjust the Brightness
Just next to the yellow square is a sundial. Sliding a finger along the sundial’s scale will adjust the photograph’s brightness. On Android, use the plus/minus icon.
Preparing a Digital File of Your Artwork
Optimising your artwork for digital use or to be viewed online (social media or art competitions) is essential to make sure that it remains as true to life as possible.
Software for Digital Photographs
Using editing software such as Adobe Photoshop or Lightroom would be ideal. However, if you don’t have access to these, there are also photo editing options on a smartphone that can allow you to do things such as crop, rotate, and adjust the contrast, brightness, and saturation of an image. The main goal of photo editing is to get the image as visually close to the real artwork as possible as if you were viewing it on a gallery wall.
Resolution / File Size
Web images generally need a lower resolution than if you were to send them to print, as images with a high resolution end up loading slowly and taking up a lot of space.
You’ll also need to make sure that the size of your image is not too large or small so that it doesn’t become pixelated and shows your artwork in the best possible light. Ideally, you’ll want to save your image at the highest quality setting, without it being a huge image.
Digital File Types (JPGs / PNGs)
Images are best saved as either JPGs or PNGs as most website hosting platforms or competition software will accept either of these file types. Try to avoid saving as TIFFs or HEIC (which is what photos sometimes save as on Apple devices) as you’ll find that these are not fully optimised for web use.
Colour Profiles (RGB / CMYK)
In terms of colour space/profiles, for the web, you’ll want to save your image as an RGB. CMYK is generally used for printing, whereas RGB is best for digital images that will be displayed on a screen. You can convert your image from CMYK to RGB fairly easily when editing your photo in Photoshop.


